How to Change RDP port in Windows
Recently, quite a lot of Windows and Windows Server users who are connected to the Internet and access the network via a static IP address are faced with the fact that their computer, server and remote desktop does not work correctly. This is pronounced in frequent errors when connecting to the server, slow system operation and running programs on the computer. If it concerns the remote desktop, then there may be frequent connection session crashes and subsequent errors that the remote computer is unavailable, or simply gives a general error when connecting. This is due to the fact that there are a lot of connection attempts to the Remote Desktop Service. Often about a dozen in a single second. Attackers try to guess the password and get access to the server account. This causes the session overflow of available connections to the service and thus putting it out of service. A separate side effect in this situation is the increased load in processing these connections by the server or computer under attack, resulting in slower programs and unstable operation of the computer itself.
So how can you get your computer back up and running and protect yourself from attacks on your computer?
If you have already encountered the fact that your remote computer or server becomes unavailable when you connect via remote desktop, then to start with you just need to reboot it. This will allow you to access the system for subsequent operations and settings.
The first thing to do is to check the Event Viewer log for information on any server hacking attempts. In the Windows Logs - Security tab. If there is an active attack on your device, you will see quite a few failed attempts to connect to the system (Audit Failure). In the event details, you can see the Account Name of the user who tried to connect and the IP address (Source Network Address) from which the connection was attempted.

Now we are sure that someone is trying to get the password to our device.
In order to secure our service, we need to change the connection port of the remote desktop service. Let's see how to do this using Windows Server 2022 as an example.
1. Open the registry editor through the standard Windows Quick Search window
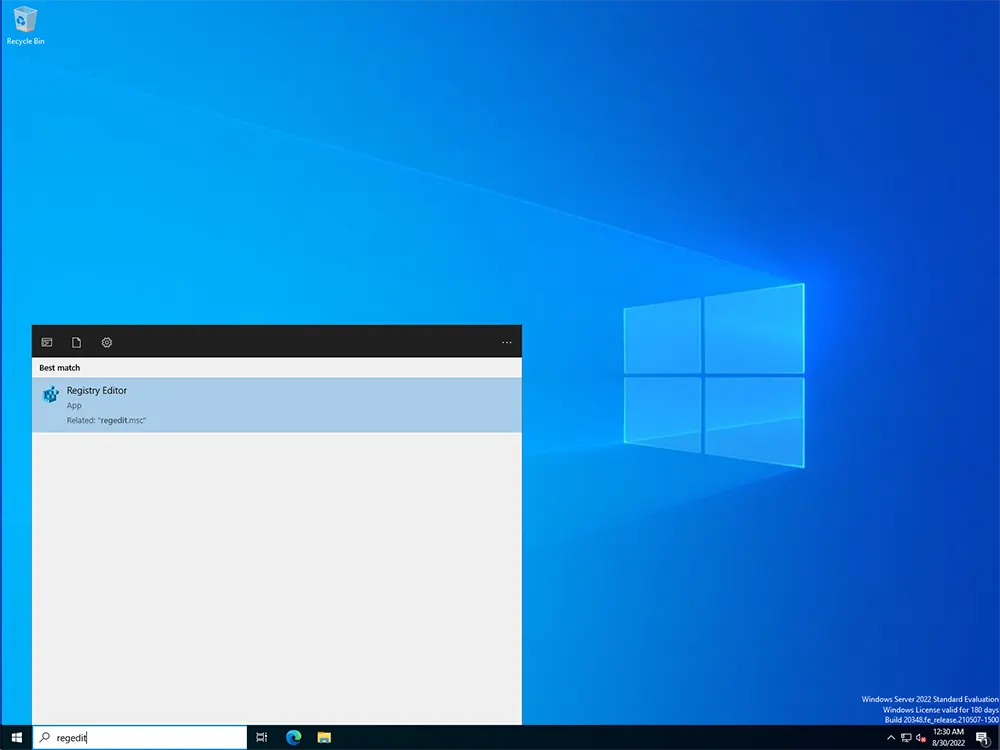
or via the Run window (Win+R key combination)
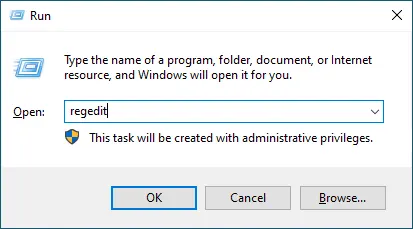
2. Go to the tab
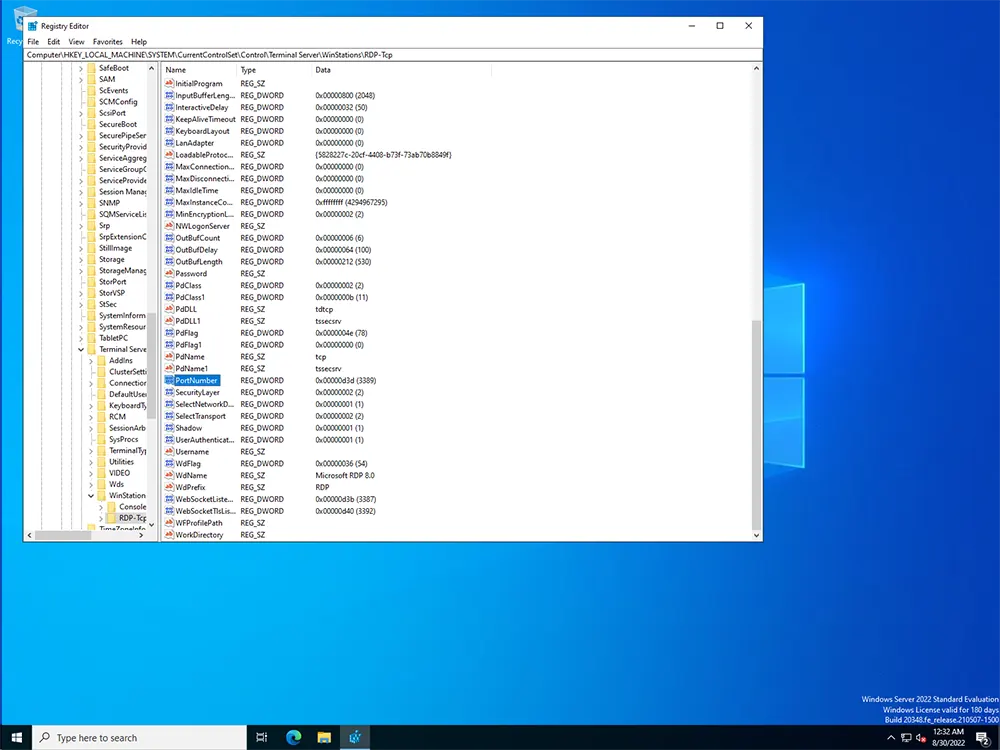
3. Click twice on the PortNumber parameter. In the new window, select the decimal number system and type in the new connection port to be used.
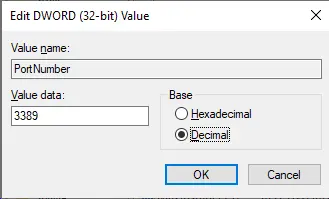
Done. We have changed the connection port to the remote desktop service.
But that's not all. The standard Windows system has the Firewall service enabled, which has a set of rules for connecting to our device. Normally it is configured to access port 3389, which is the default port for the Remote Desktop Service, but now we have changed this port and we need to add a new rule to our Firewall.
4. To do this, open the Windows Defender Firewall.
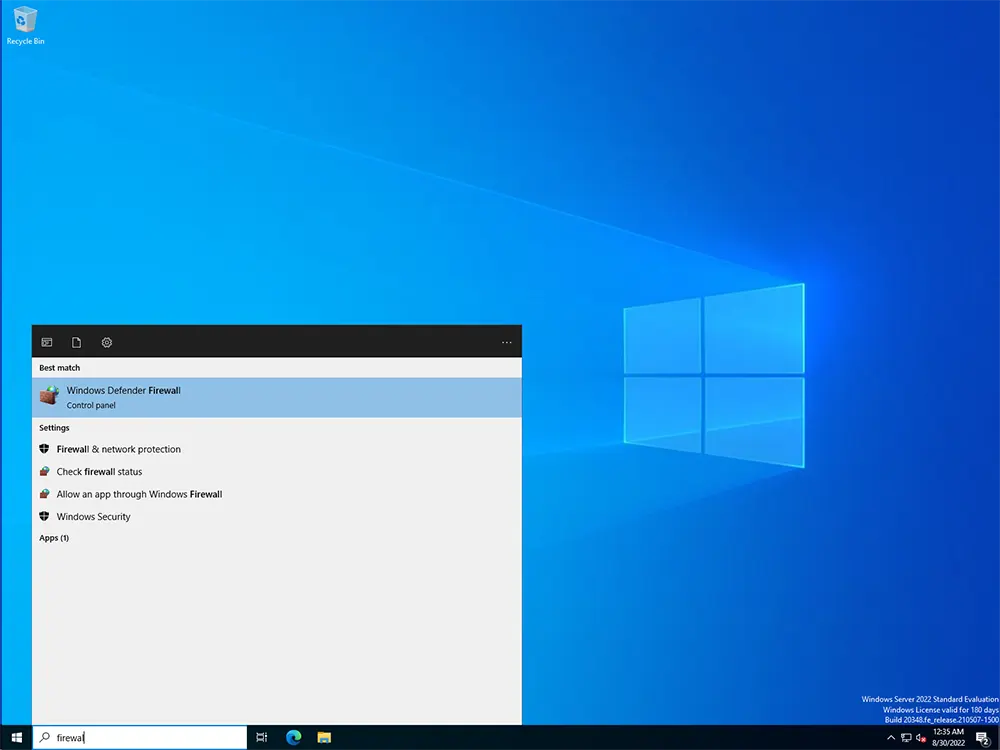
5. Click the Advanced Settings tab
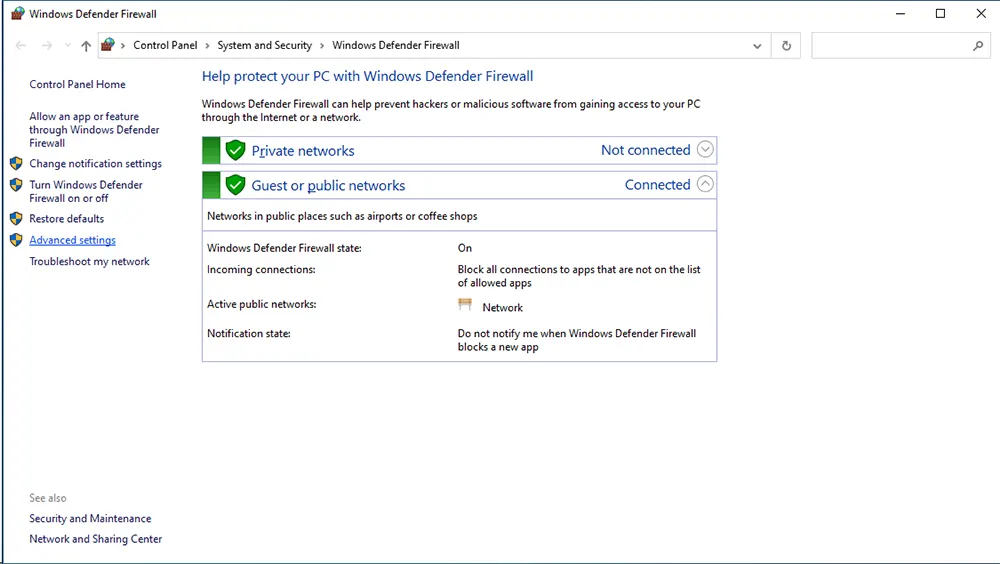
6. In the new window, select the Inbound Rules category, left-click on it and select New Rule.
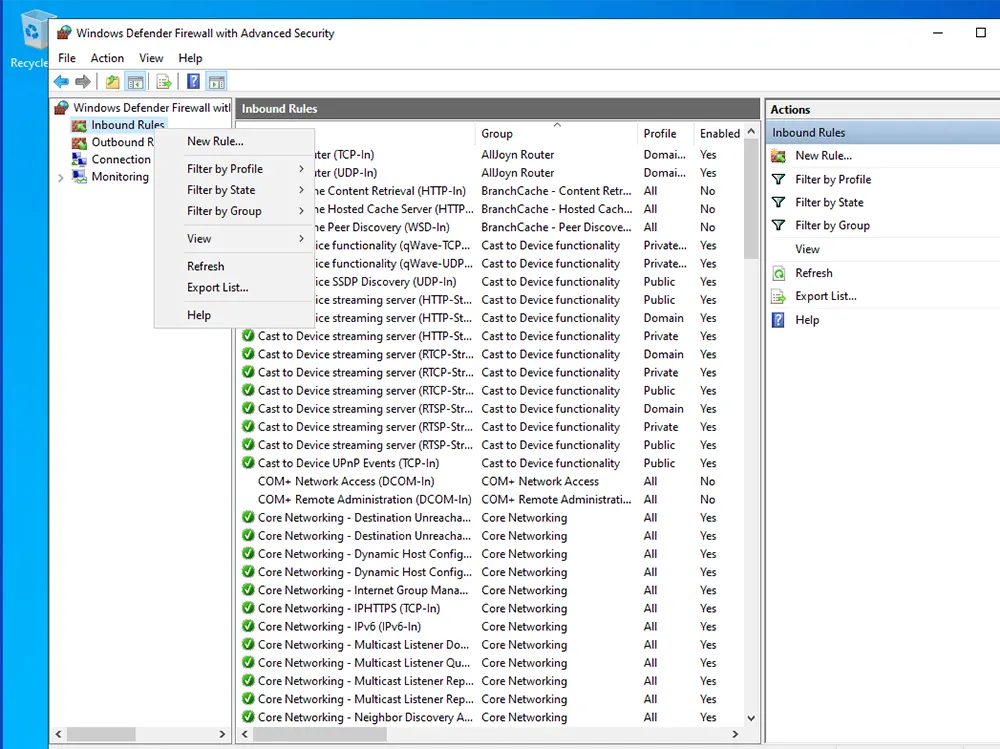
7. Choose the type of rule, namely what we will allow.
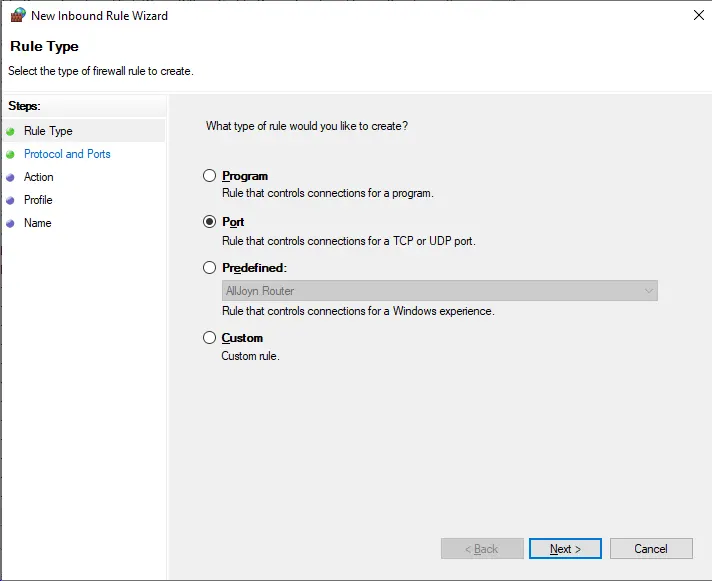
8. Specify the port number that you previously specified in the Registry Editor in the PortNumber parameter.
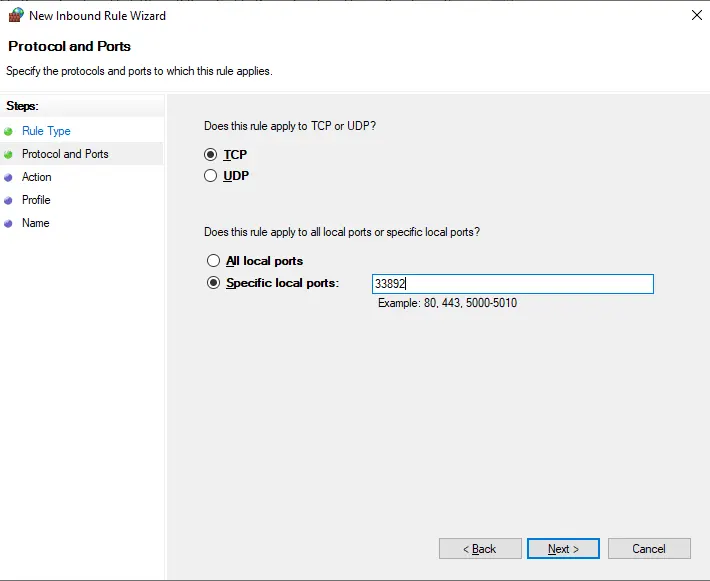
9. Next, enable the rule for the specified zones.
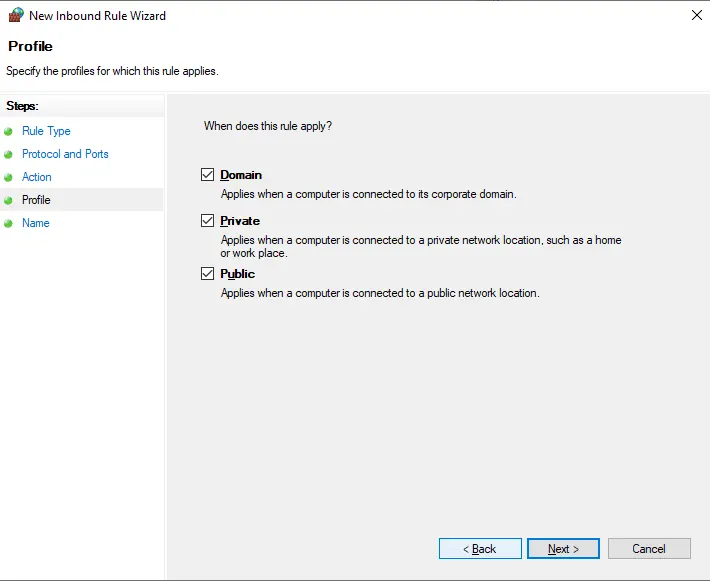
10. Allow connections to the new rule.
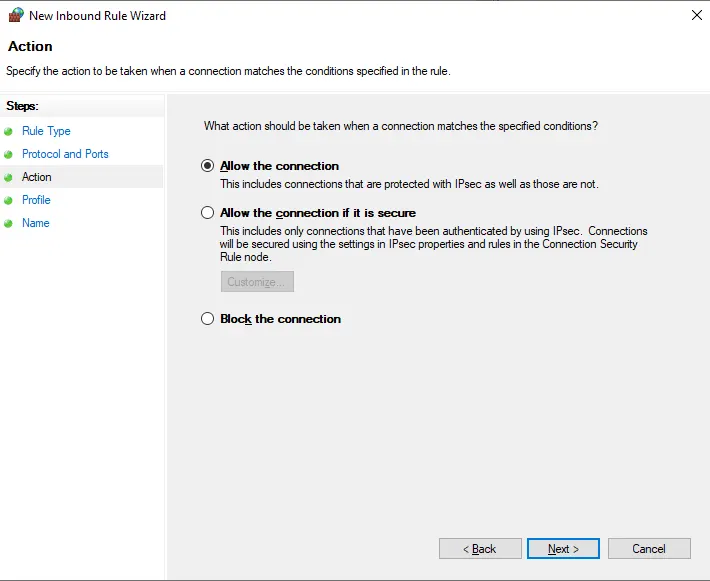
11. Specify the name of the rule under which it will be displayed in the list of all rules.
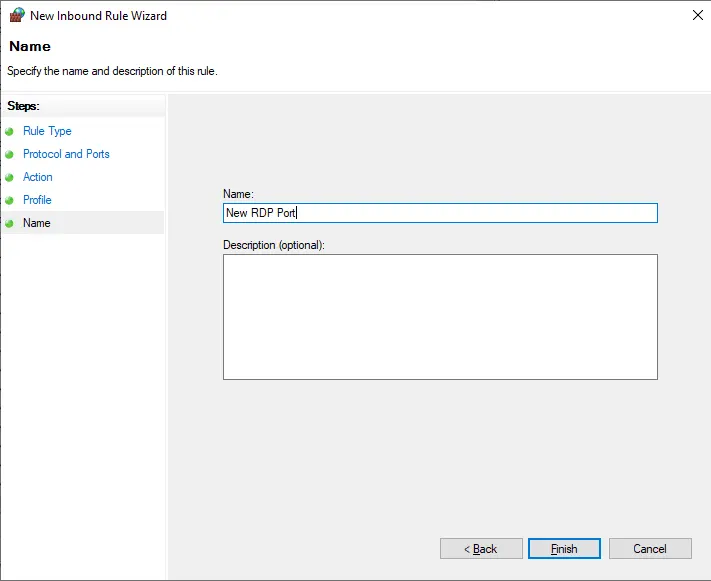
It's done!
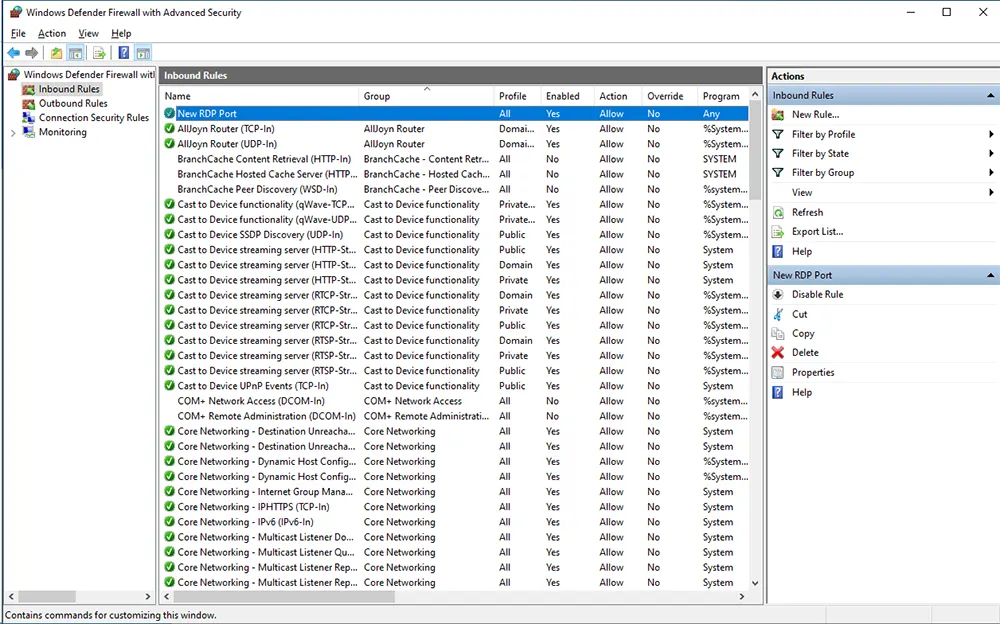
Now you only have to reboot the computer and the changes will take effect.
How do I connect to a service with a new port?
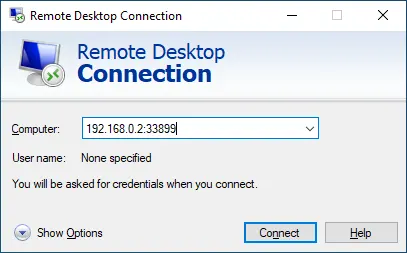
To connect to a computer with a changed port, specify the new port at the end of the server address, separated by a colon.
Example: 192.168.0.2:33899
And we remind you that you can order a remote desktop in our company and in case of any problems of this nature - we will be happy to help you with a quick solution and provide quality service.
You can choose a location and order a remote desktop here


